In the fast paced world that we live in today, it comes as no surprise that consumers are drawn to imagery rather than reading long blocks of text when they are looking to purchase a product. In general, people want to gather information in the most efficient way possible. Images are the perfect solution to getting consumers to engage with your brand and show interest in the products that you offer, as studies have shown that 67% of consumers say the quality of a product image is “very important ” in selecting and purchasing a product, not to mention adding a photo to an article or description can improve recollection by 65%. If photography can help improve information retention more than 6 times better than text, it is fair to say that adding photos is a simple solution to gain the consumers attention and stay in the minds of your target audience.
Consumers are not only looking at the products that you sell, but they are also looking for proof of quality and whether or not they are getting value for money. Getting consumers to the stage of making a purchase also has a lot to do with trust. In order to build trust, you need to engage your audience with real photos and authenticity. Sharing real photographs that reflect your company, your personality or your business can take you another step closer to making a sale and building a reputable brand that people can trust.


In this post, we will show you how to take product photographs that
Engage your target audience
Convert to sales
Build trust and therefore boost the lifetime value of your customers
This is also a cost effective method if you are starting out or do not have a large budget to work with.
What is Product Photography?
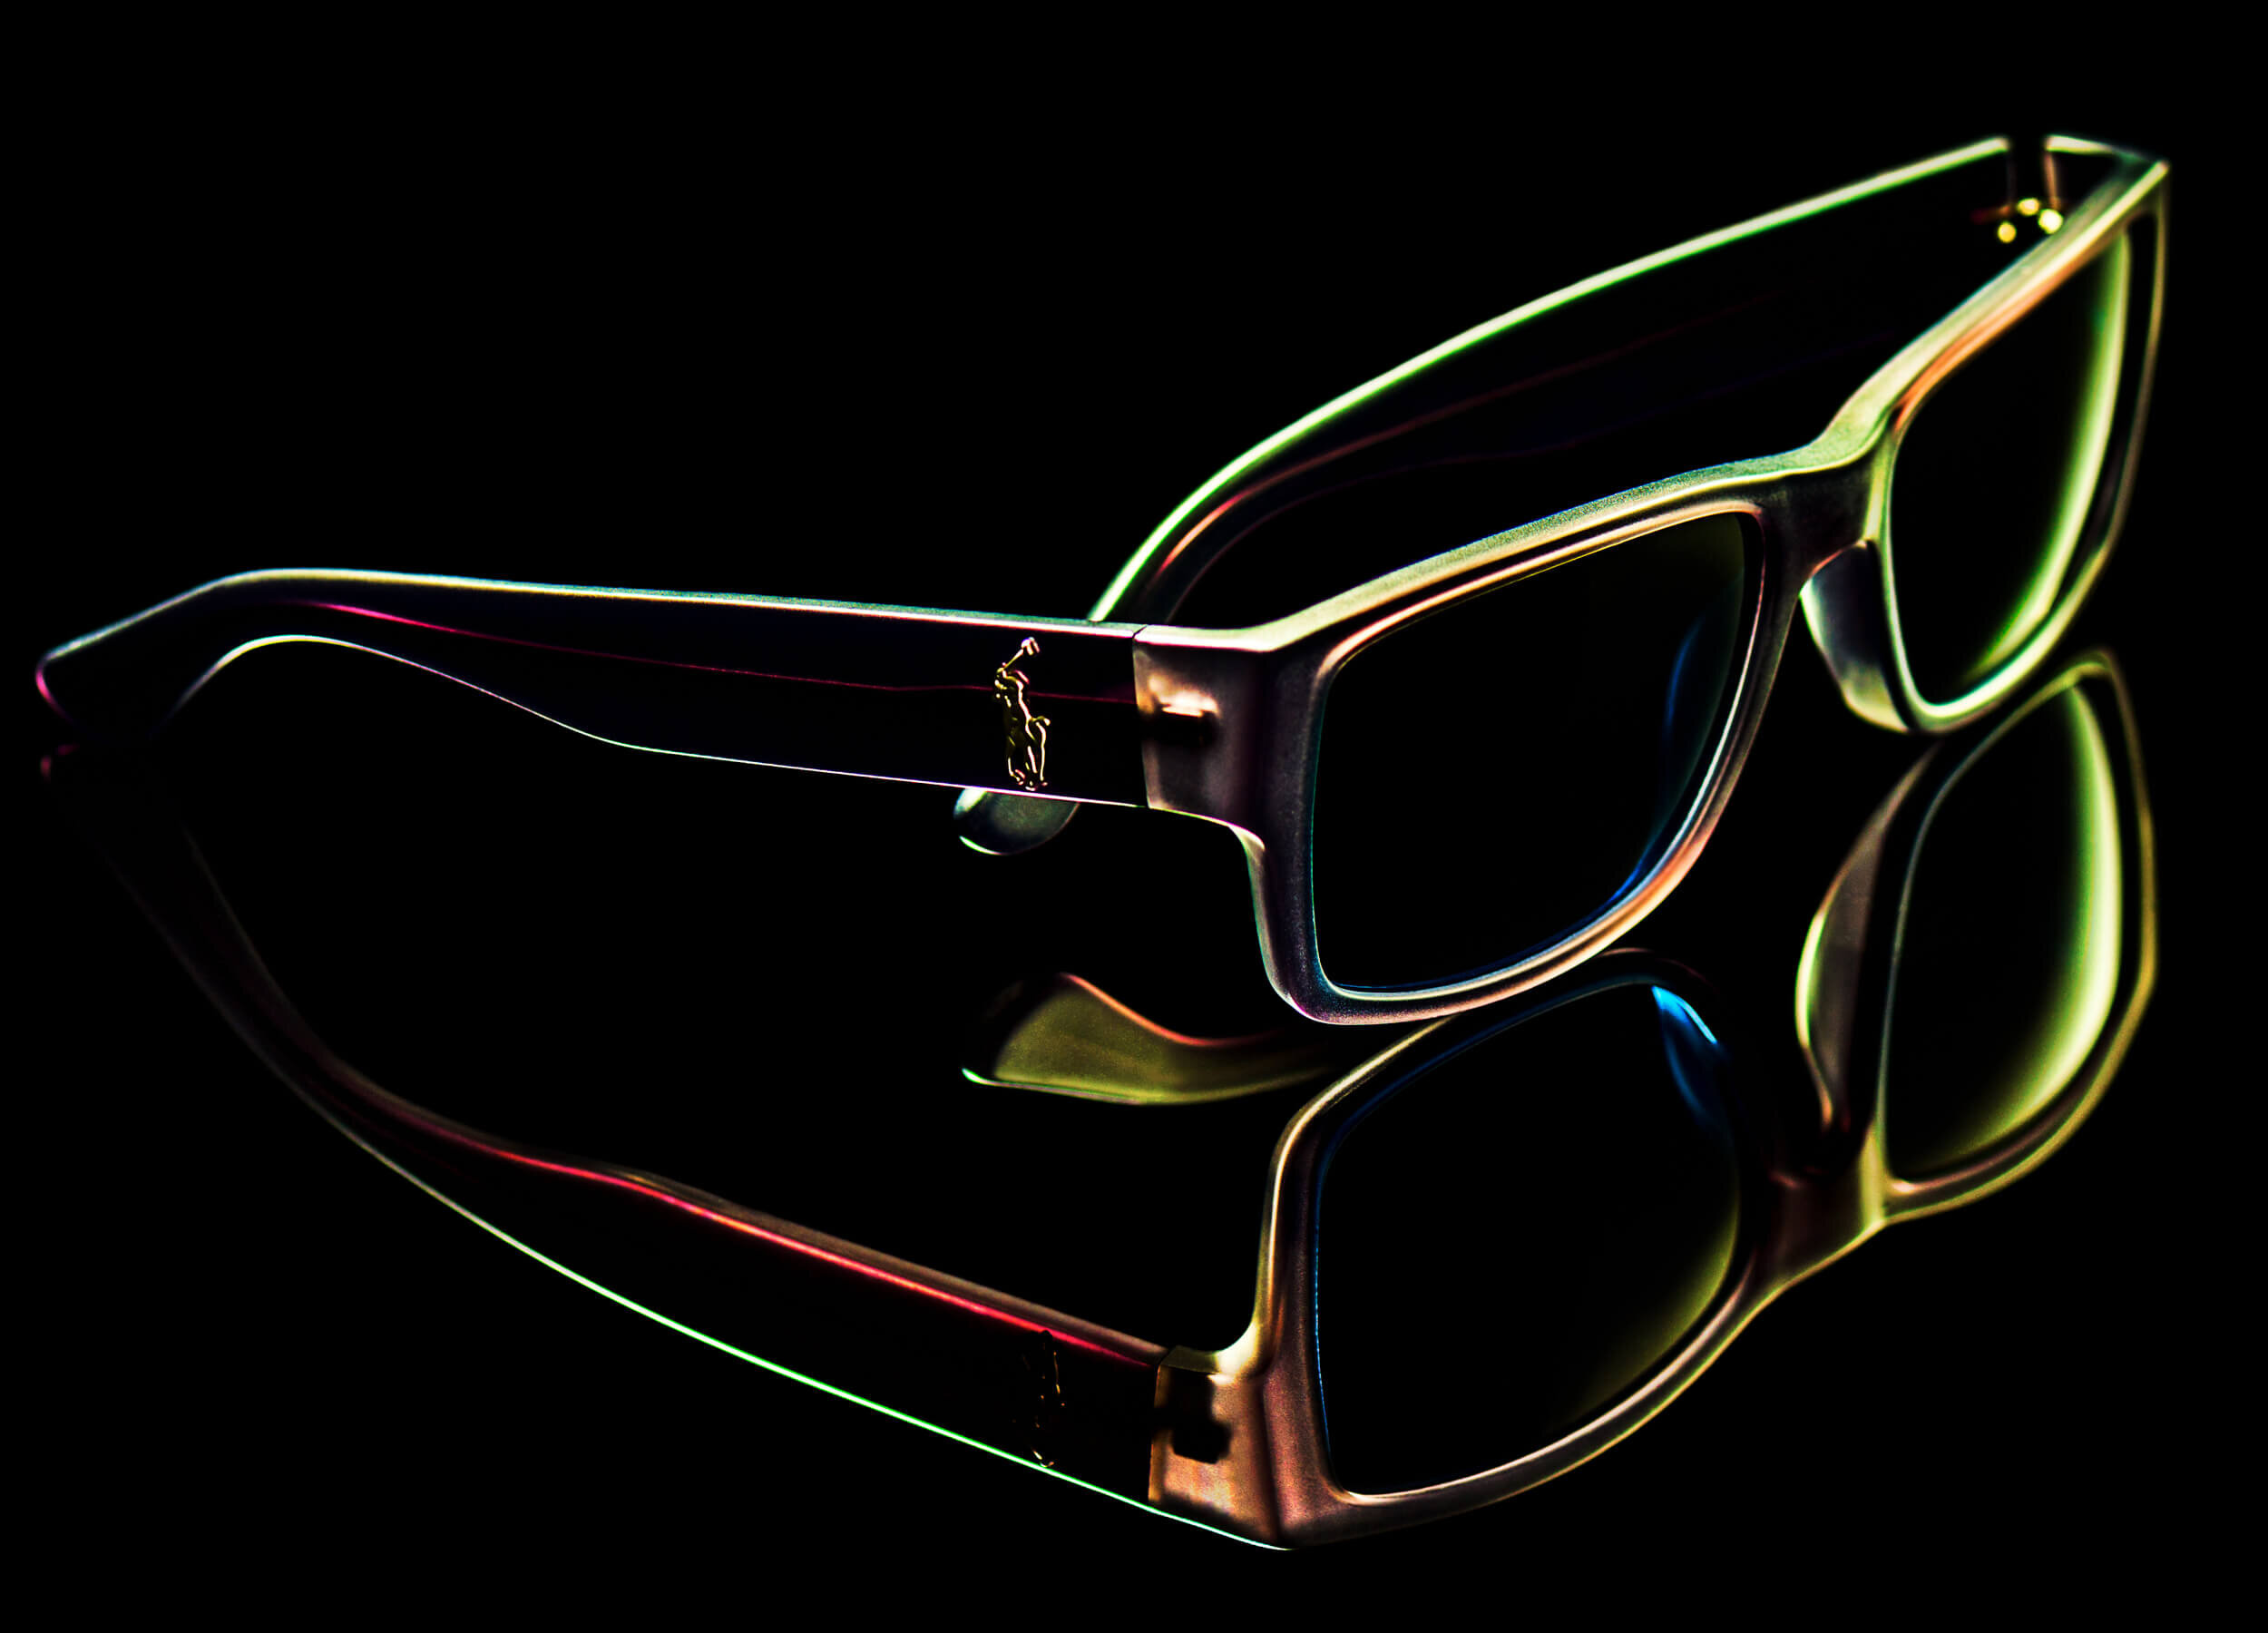
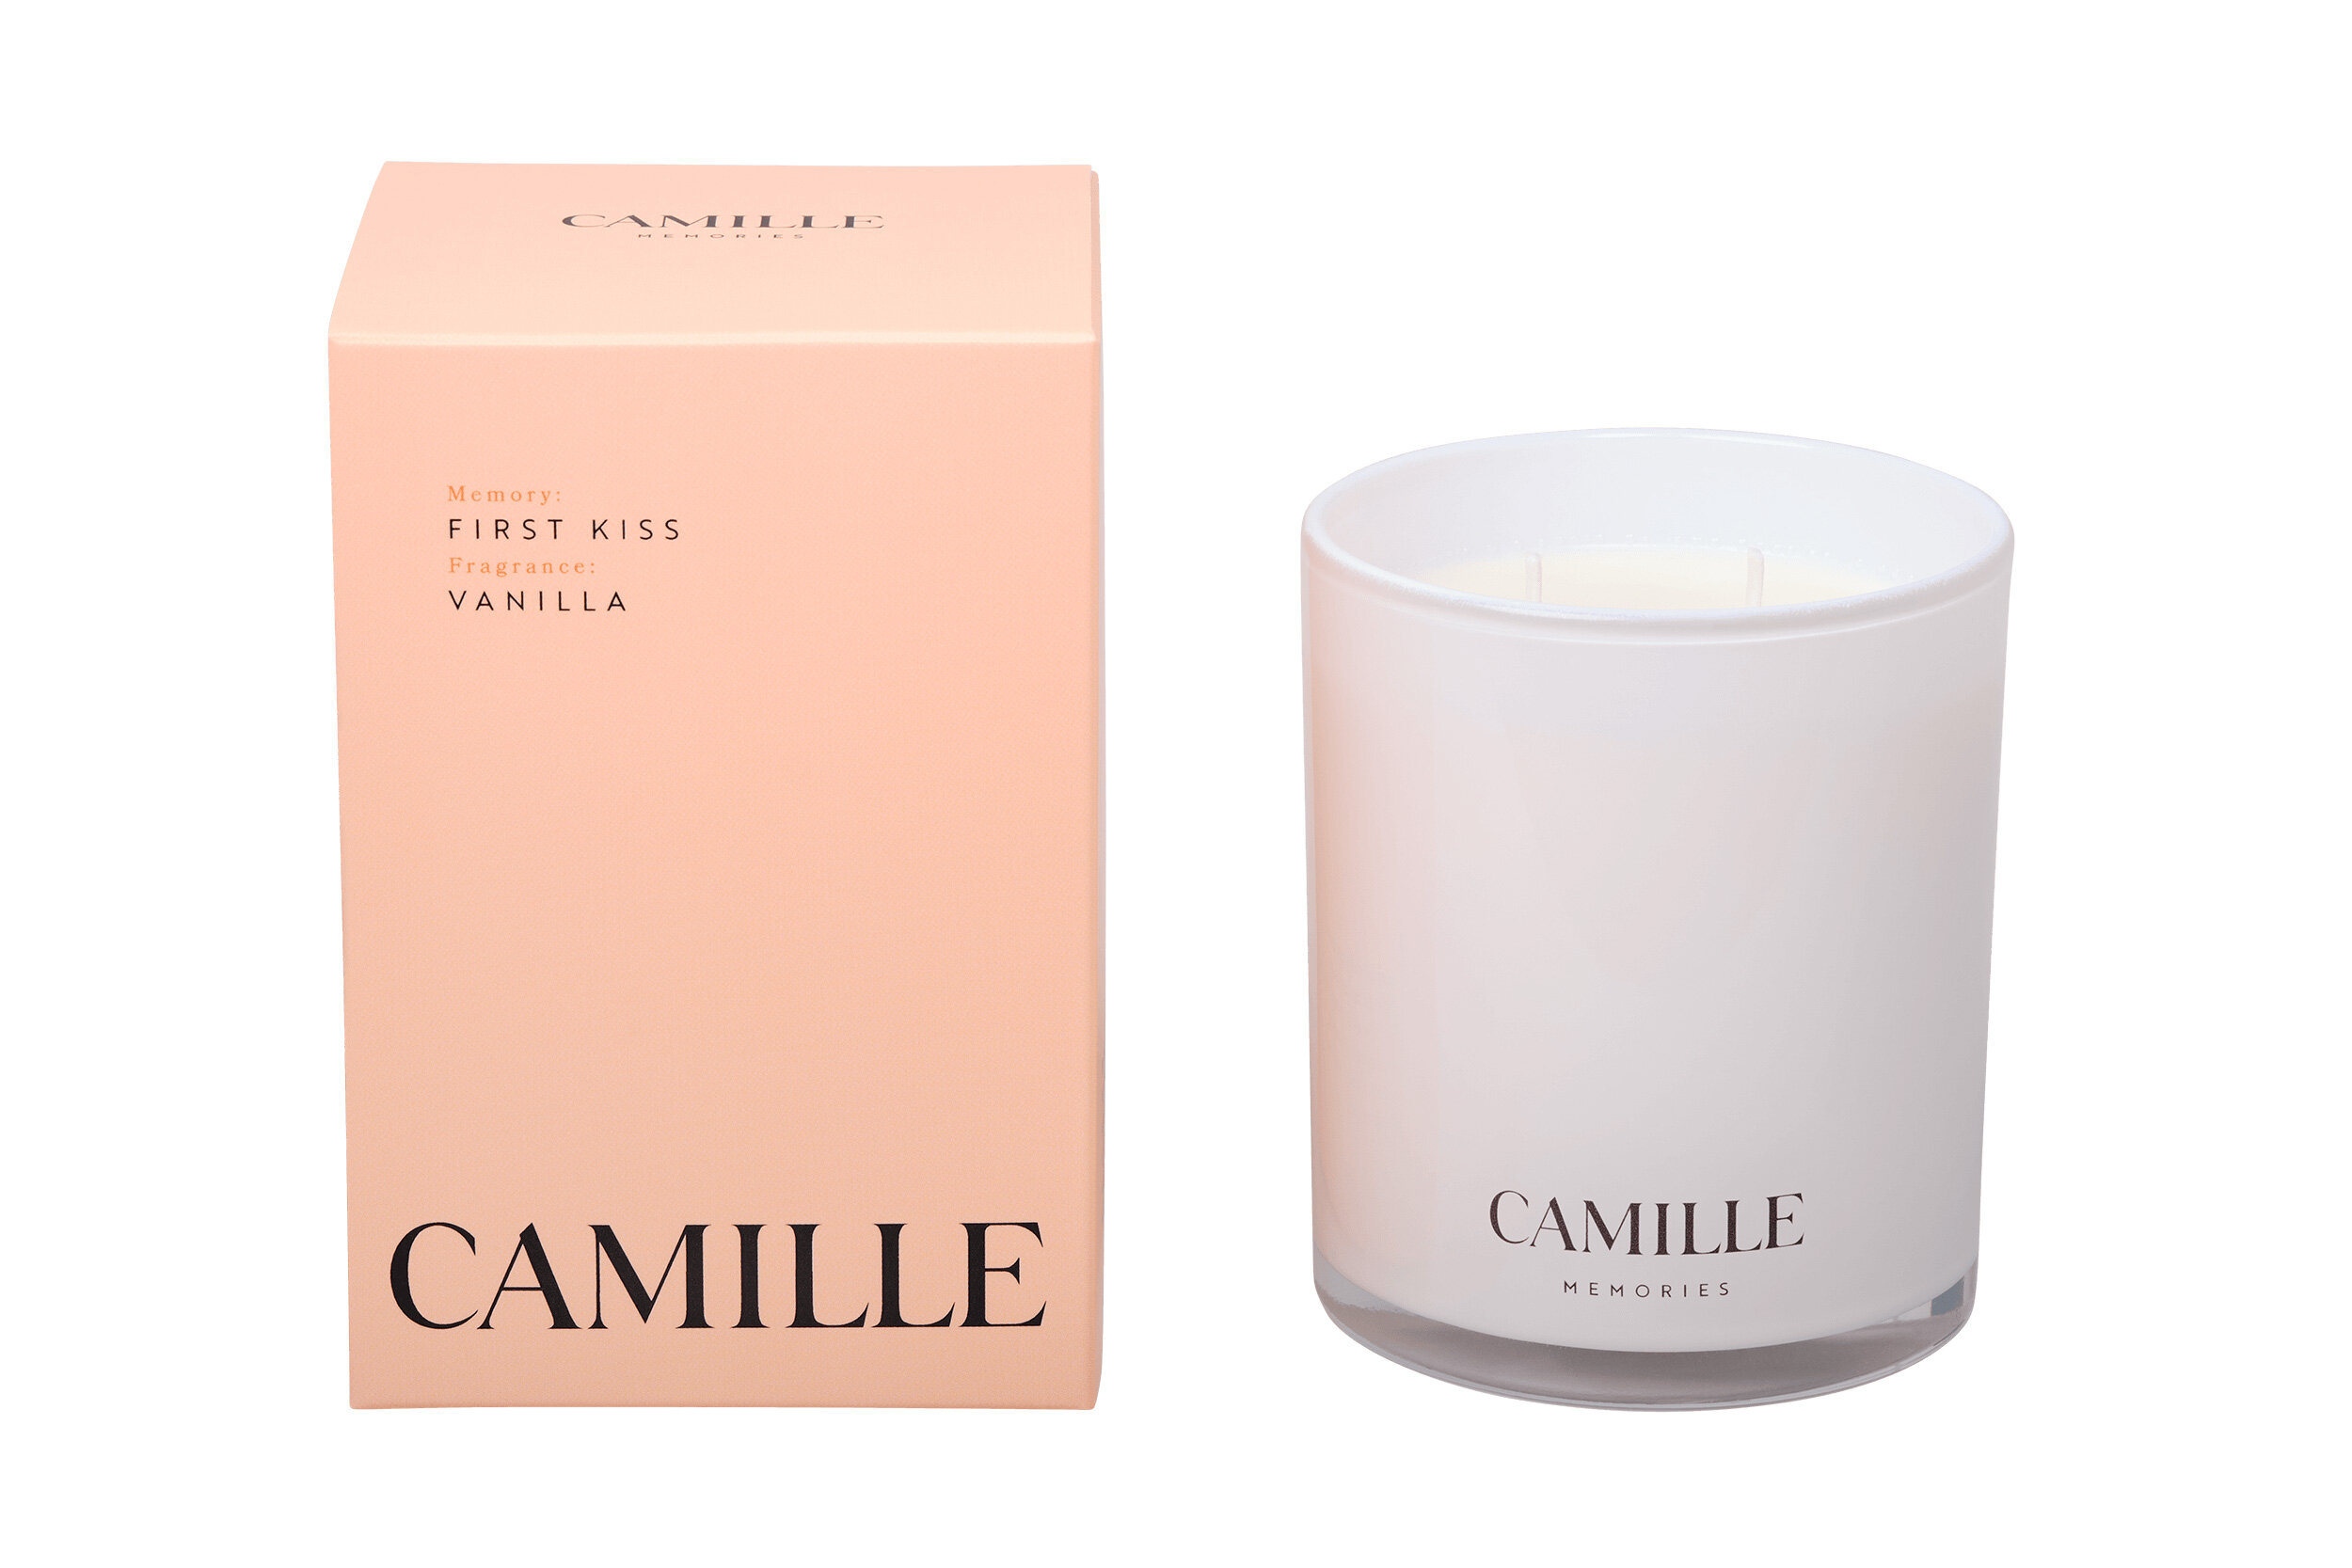
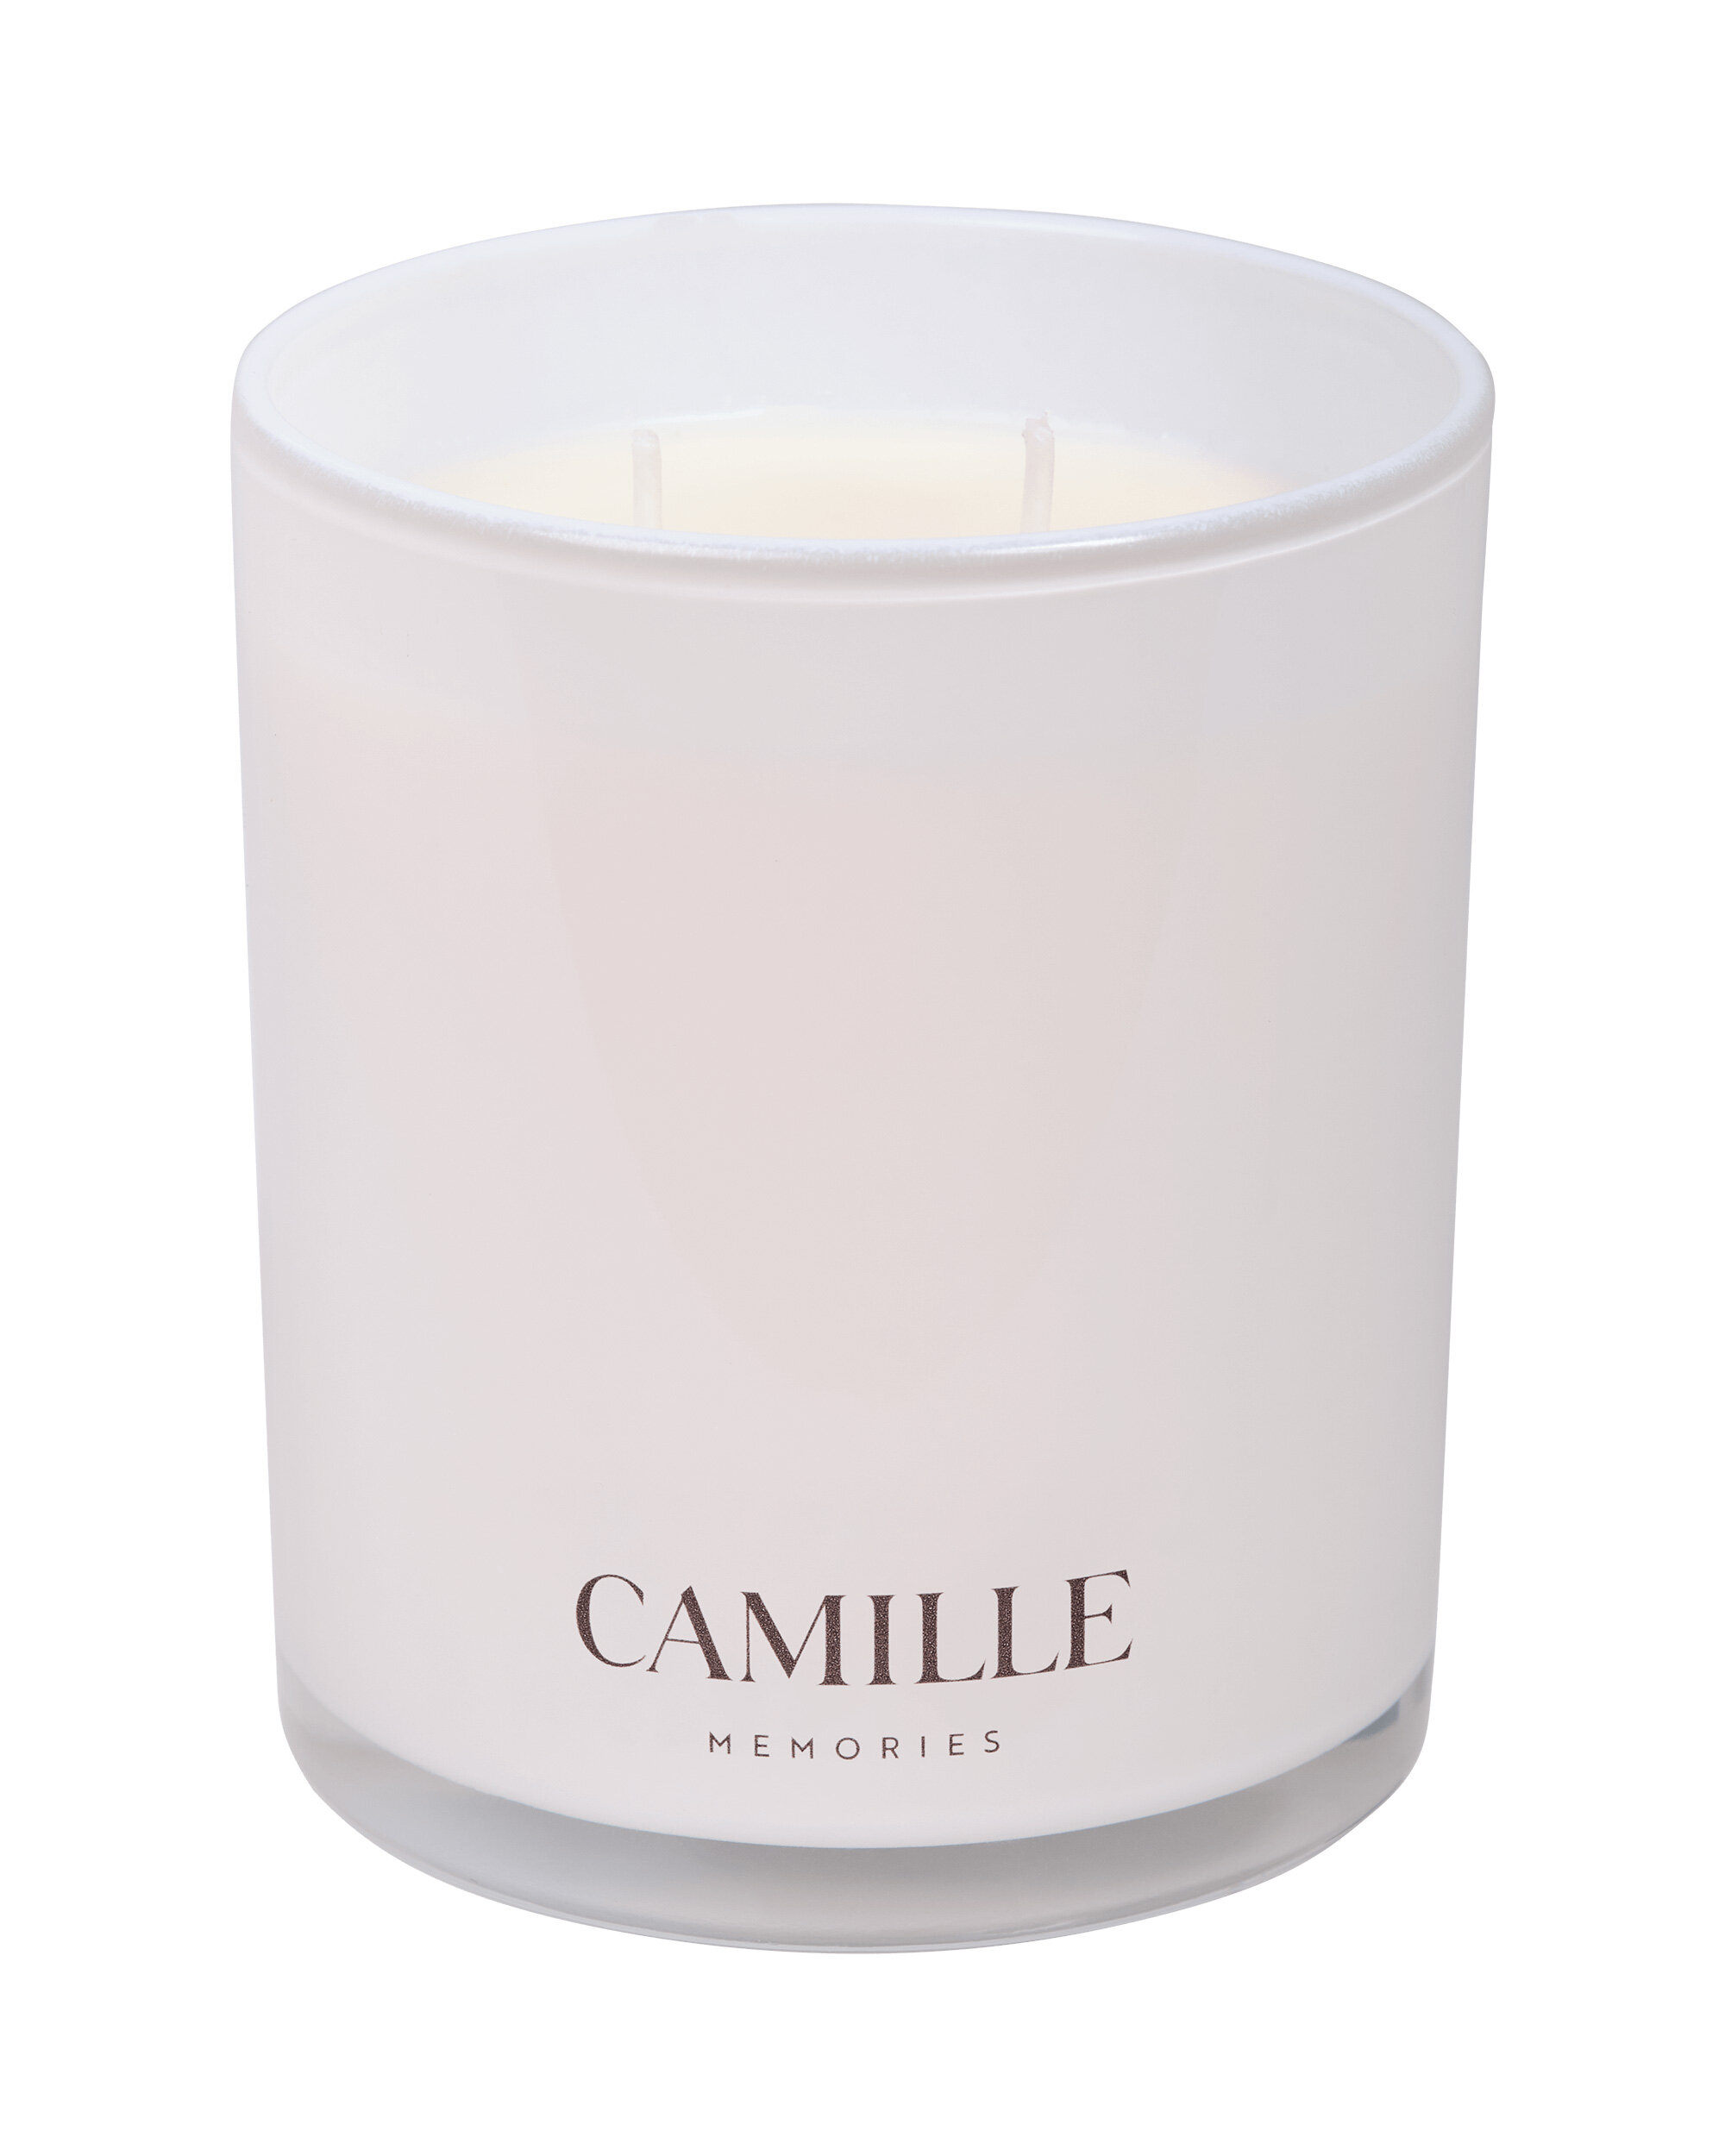
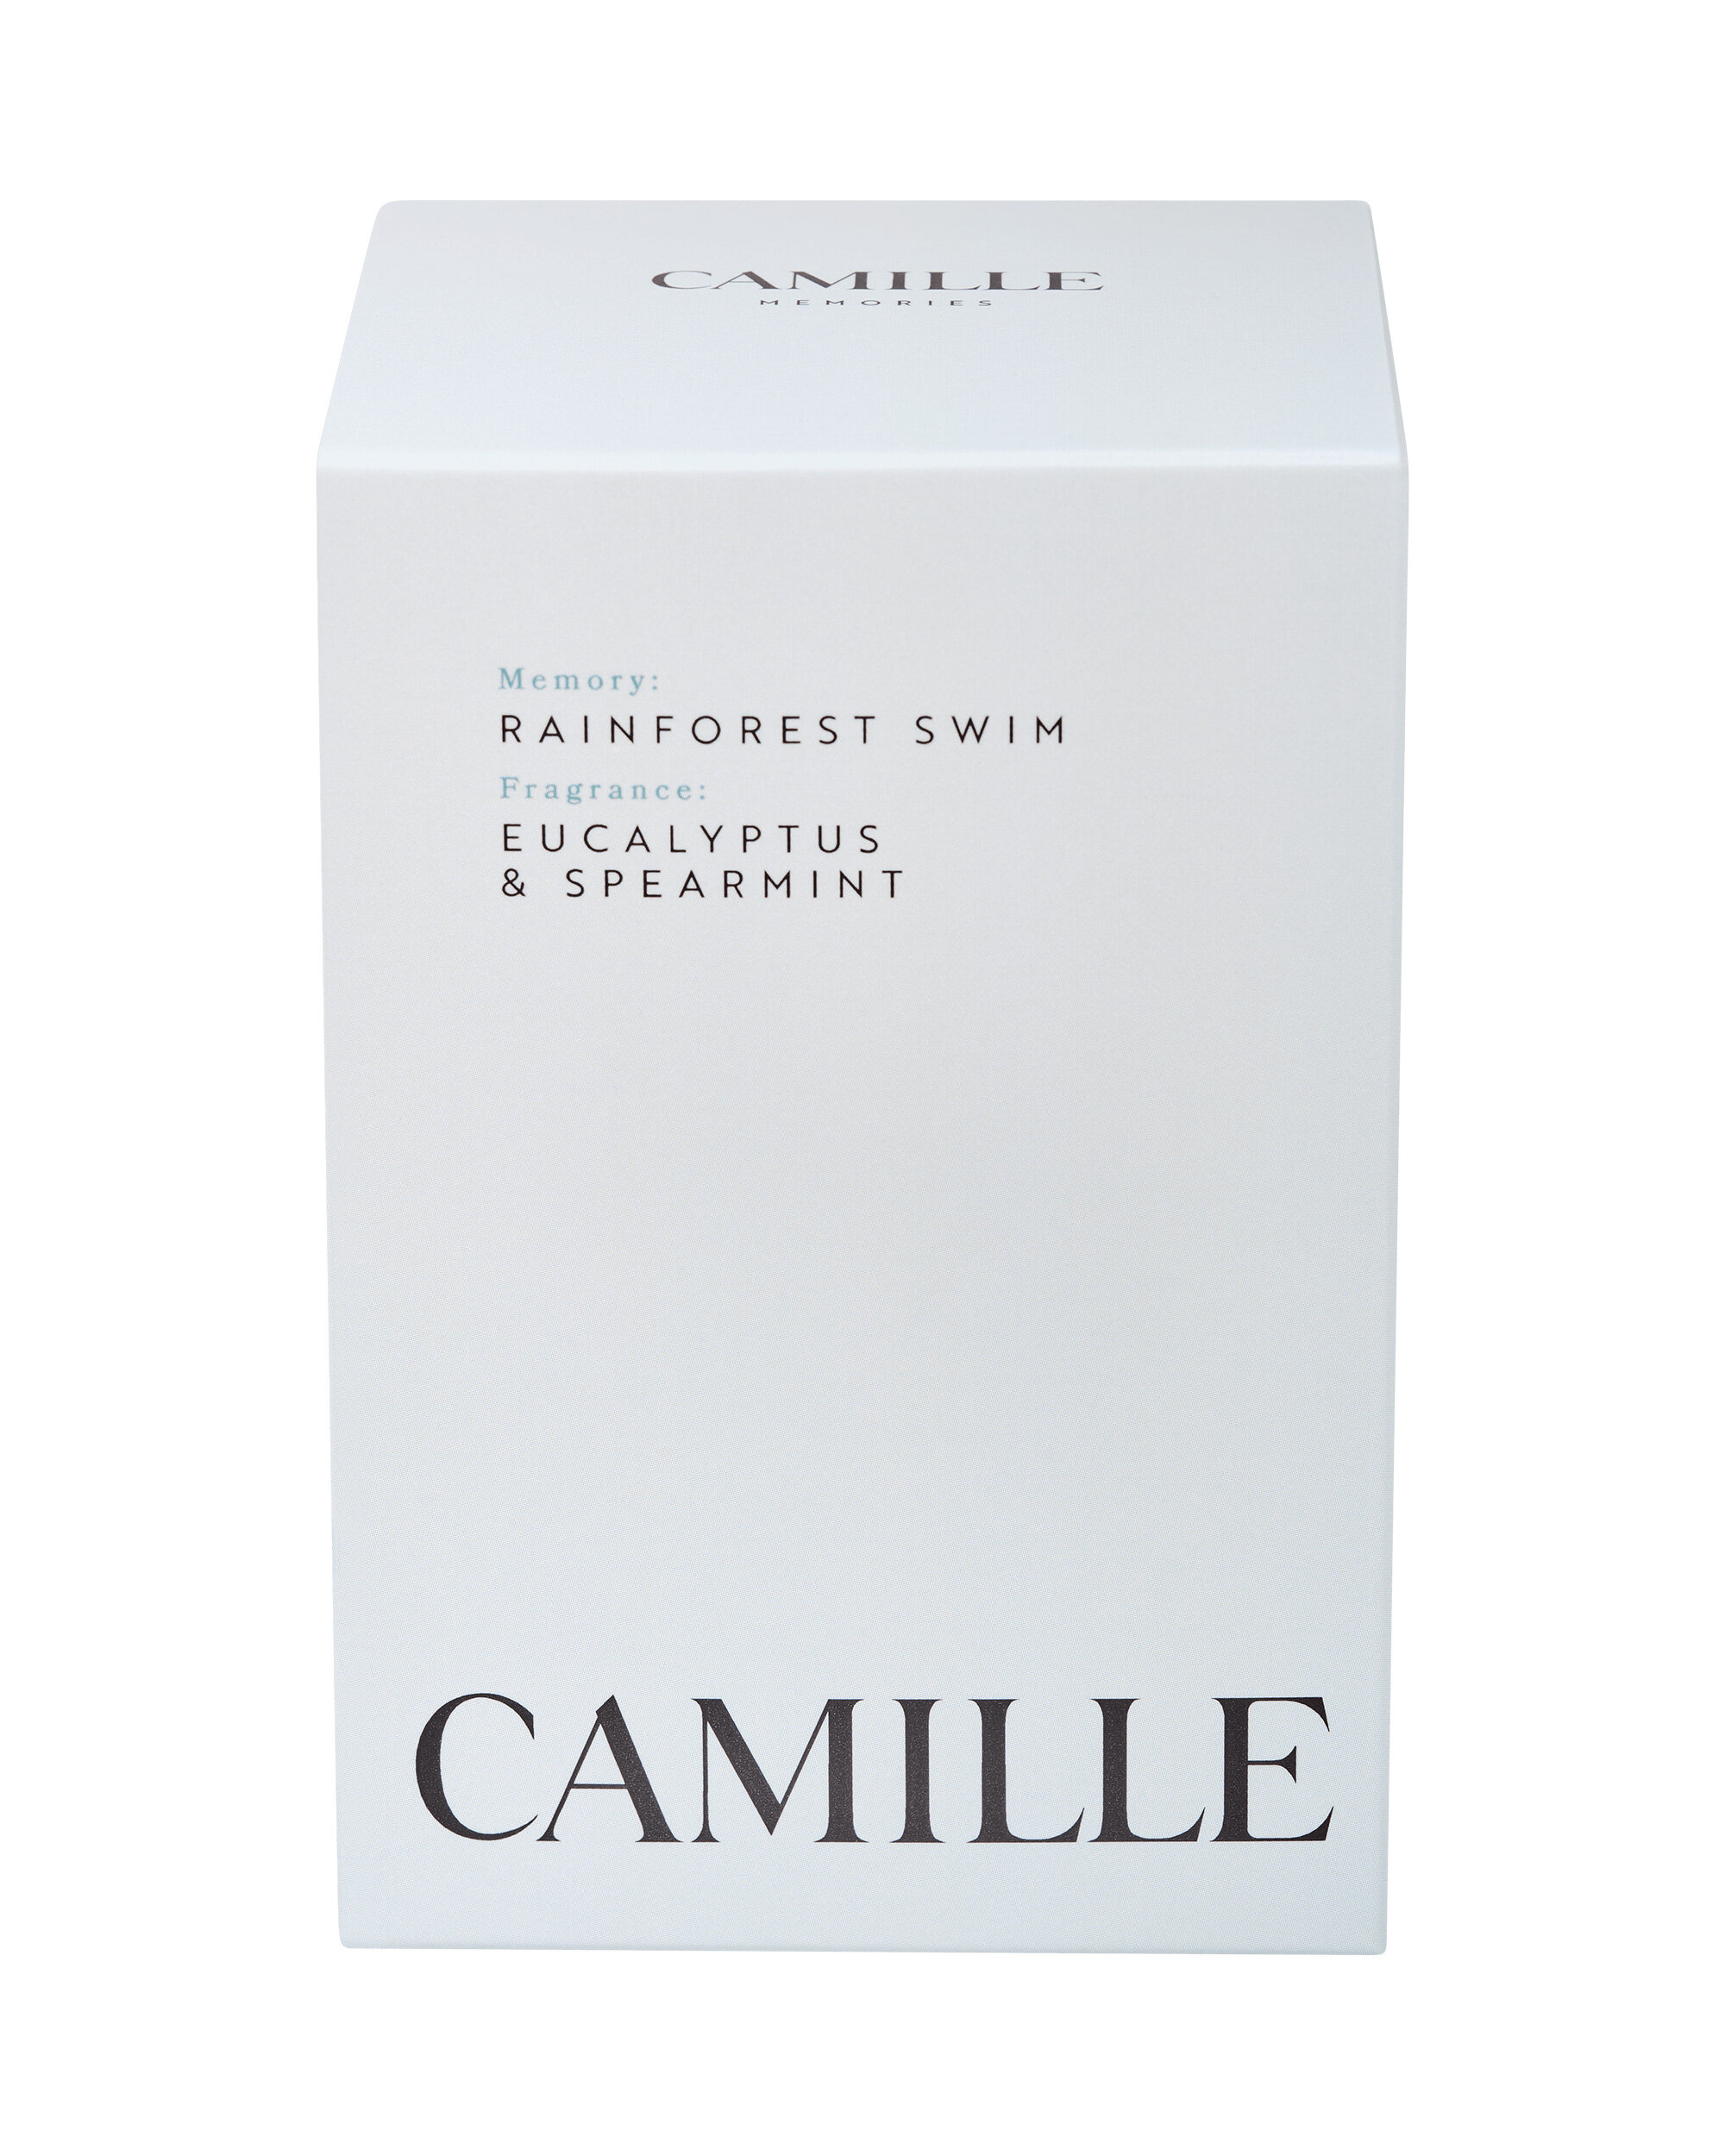
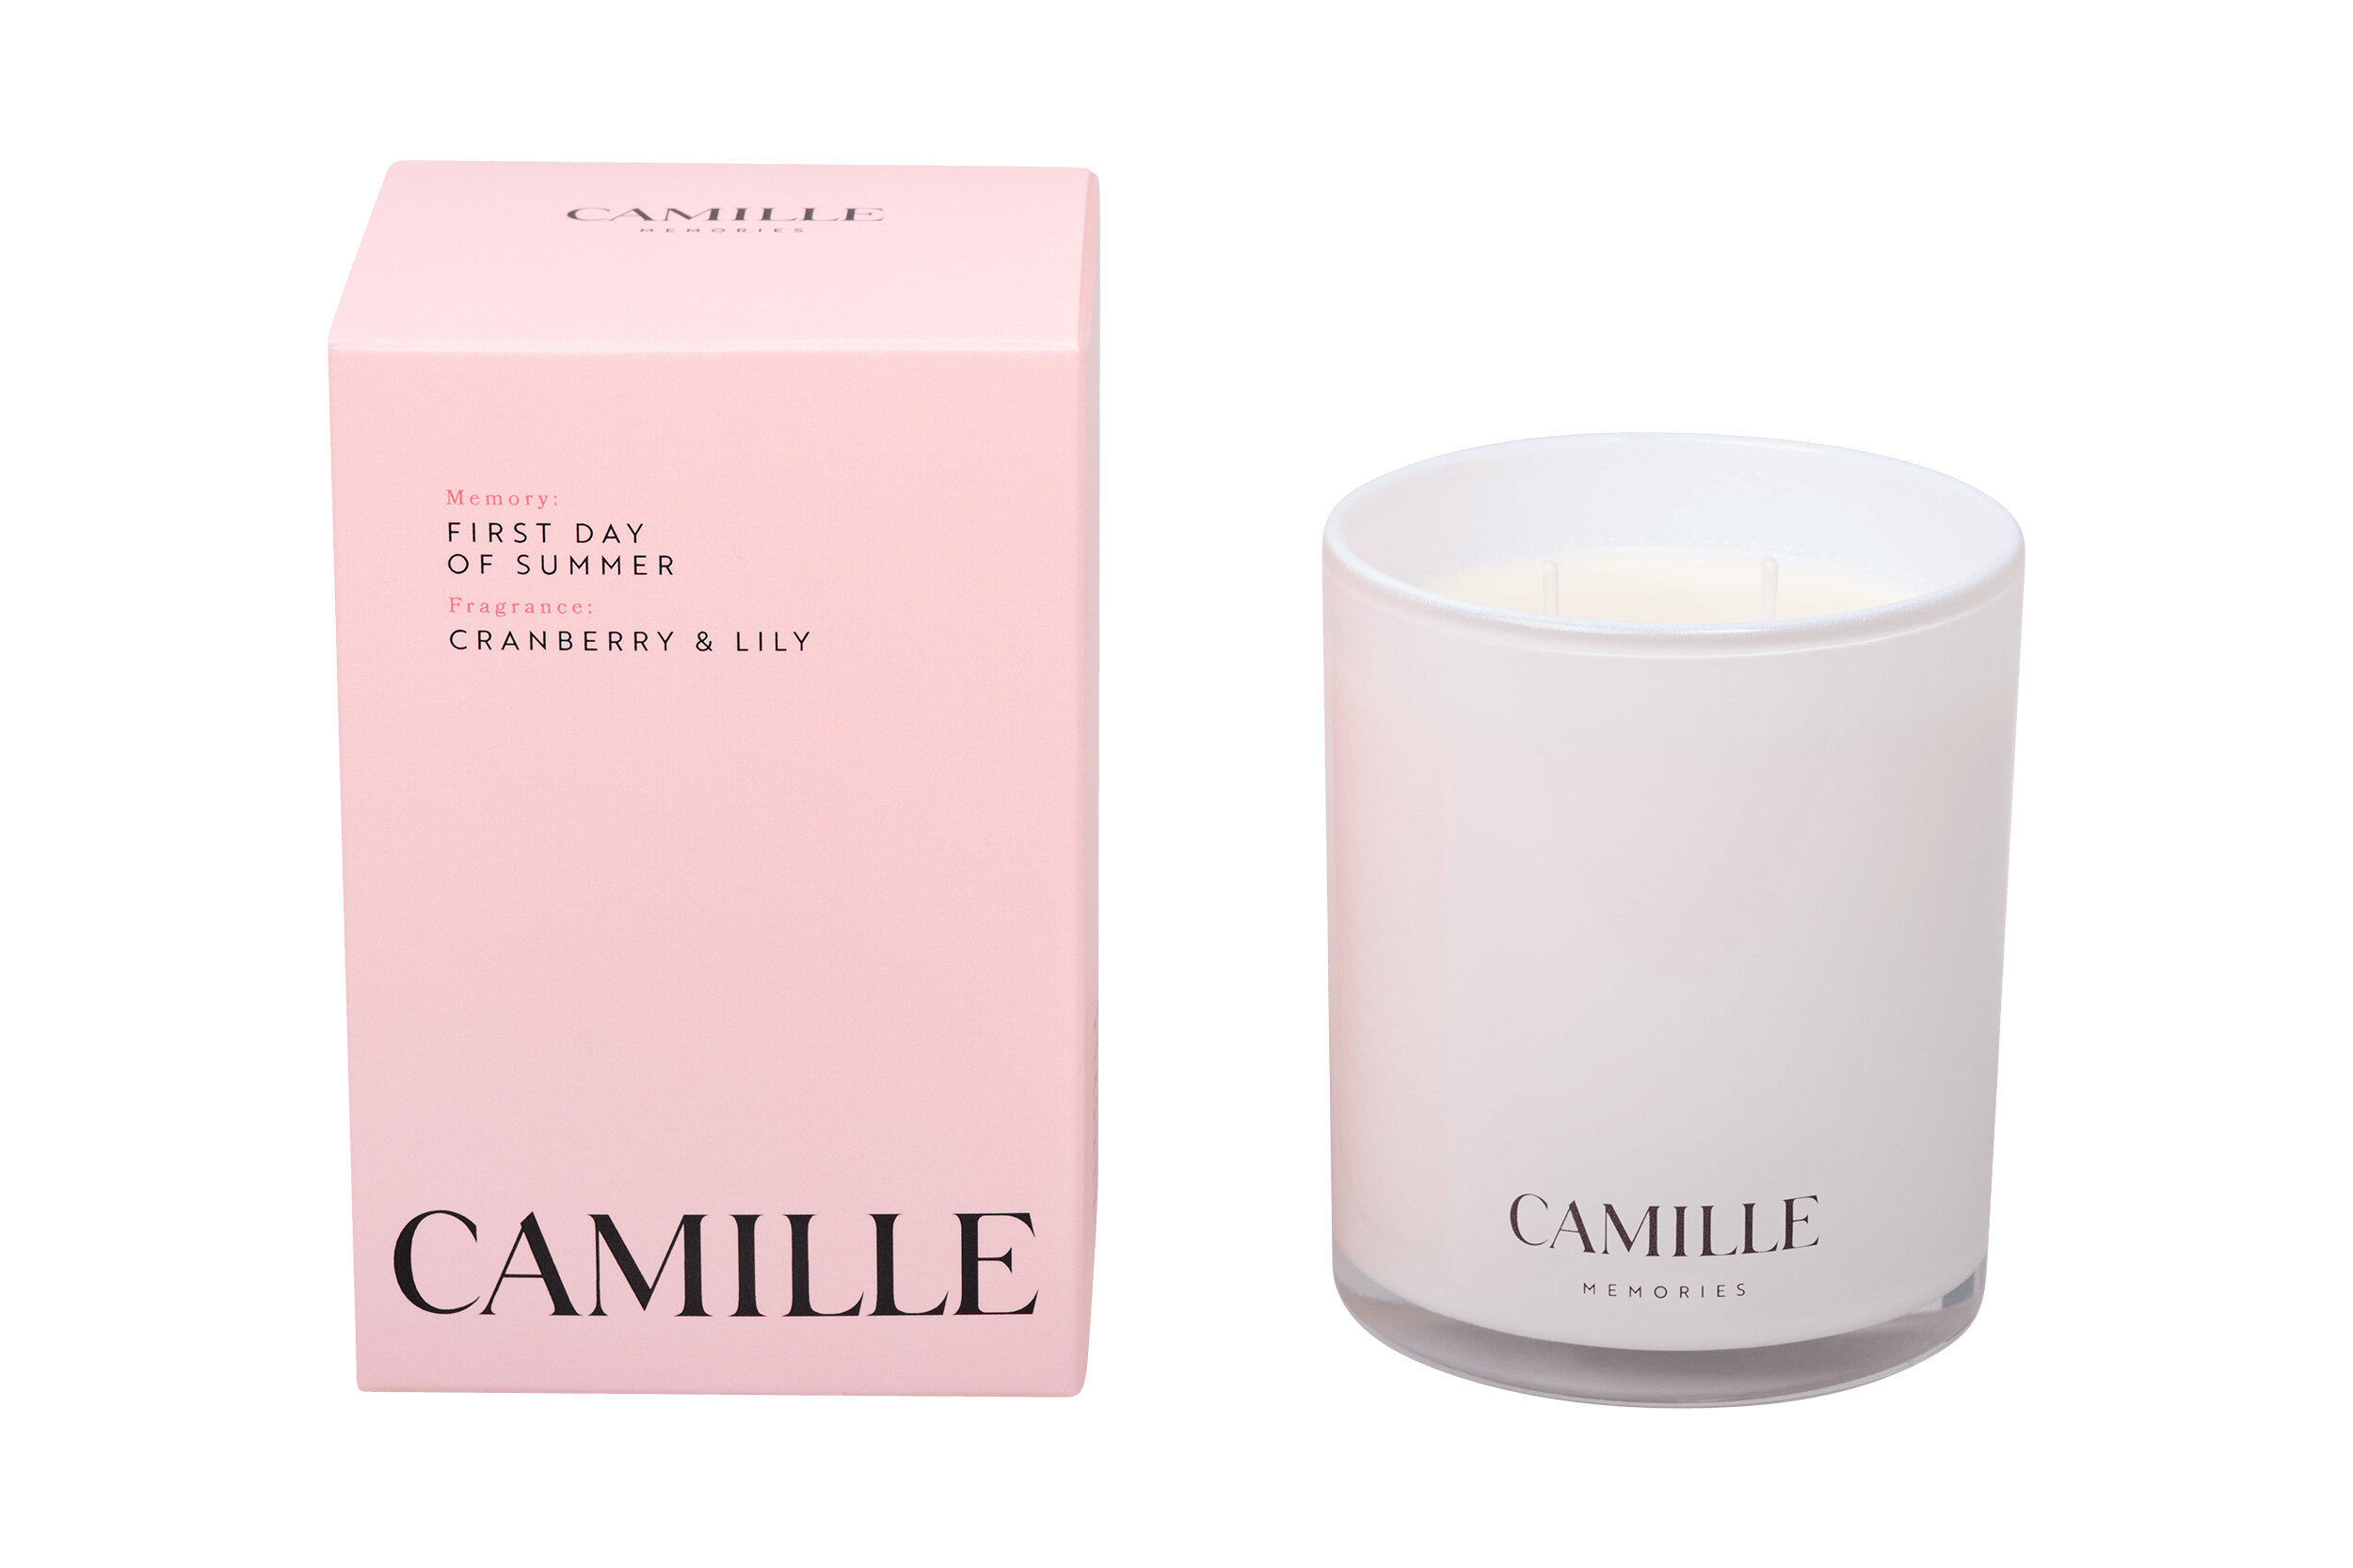
Product photography is a powerful tool that is used to showcases products in the best light possible through specific techniques. Product photographs are not only used to inform potential buyers about products but are also used to entice buyers to purchase the product being advertised. This is a crucial element in both online and offline advertising. Brochures, catalogues, billboards, websites, magazines and other media rely heavily on quality product photography when selling products directly to a consumer. The quality of the photograph reflects your brand image and will ultimately leave the consumer with their first impression of your brand. To maximise on your customers first impression, it is important to present polished, professional images that are engaging and high quality. Everything in your image (lighting, subject matter, colour scheme, saturation, quality) should be kept consistent and uniform to give your brand a distinguishable and unified look that resonates with your target audience.
Great, So How Do I Get Started?
Now that we have established the importance of product photography and what it can do for your brand, it is time to jump into the creative process and start taking photos!
If you are new to photography, you may feel a bit overwhelmed at the beginning, however, with more practice, the process will become easier. The main key when starting is to establish how you want your products to be showcased and find a process that best suits your needs.


Here are our top 5 tips for creating quality photos for your brand:
The Background:
Ideally you would want to start with a plain, neutral coloured background with minimal texture. The product should be placed a bit forward from the background so that it does not cast a harsh shadow. This also has the added benefit of creating depth between the product and the background. If you would like to take your background to the next level, create an infinity wall out of a large sheet of white paper (A3 size or larger). This will give your photos a nice professional finish. To set up the infinity wall out of paper, simply place the top half of the sheet - which should be taller that the height of the product itself - a few inches above the ground and lightly tape the top edge to the wall. Curve the paper so that it dips down towards the floor and tape the bottom edge of the sheet to the floor. From the side angle, the paper should look like a curve on a 90 degree angle (where the wall and the floor meet). This can also be done on a chair or another surface that has 90 degree walls. The curve of the paper reduces harsh shadows and will create the illusion of endless depth.
Lighting:
It is crucial to find the perfect lighting for your product photography as this will create the mood and overall feel of your brand and the products you offer. If you are just starting out or do not haver professional lighting equipment, it is highly recommended that you keep things simple and use a natural light source such as a window. Do not place your products in direct sunlight as this creates a harsh light which only illuminates part of the product and will give your images an intense feel which is not ideal for product photography and showcasing your products. Placing your products in a well lit room near a window is ideal as this will give your photos a natural feel.

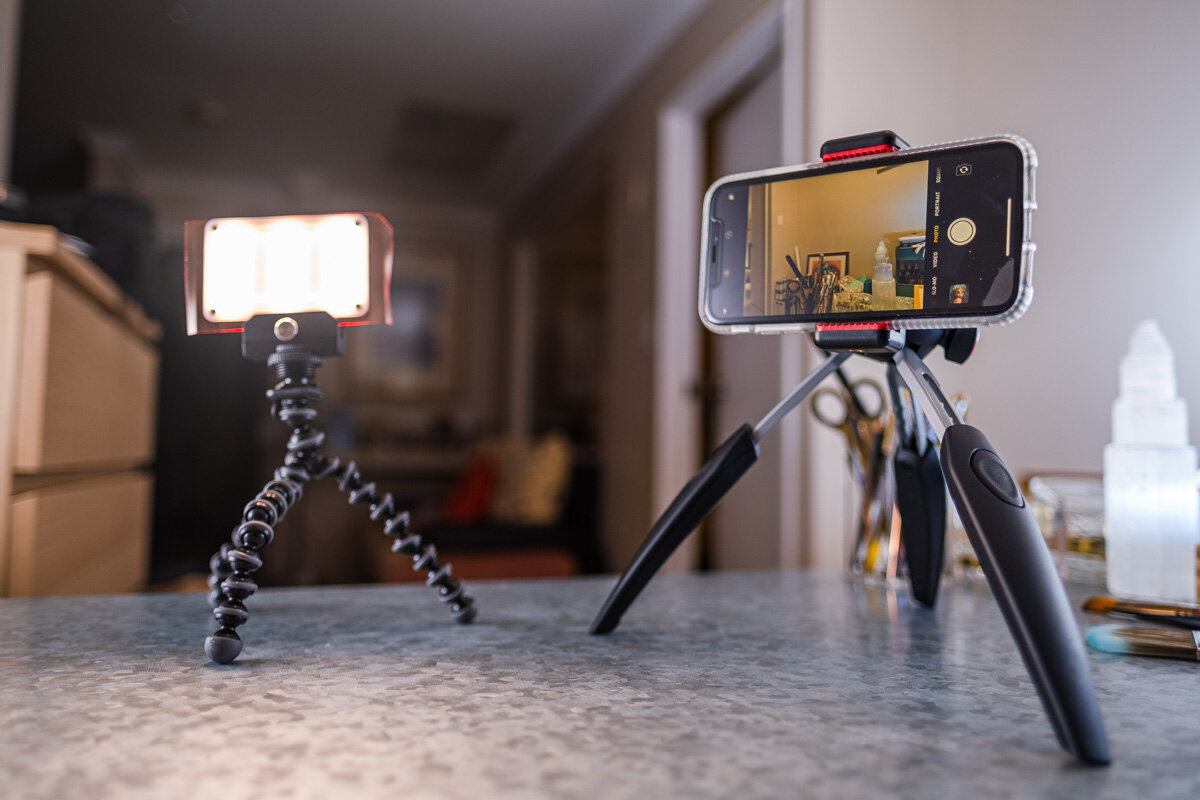
Use a Tripod:
If you do not have a tripod or can’t fit a tripod into your budget, use a pile of books or a sturdy object to keep your camera steady. Tripods are a great tool for consistency, stability and focus. It is not always easy to capture crisp, non-blurry images when taking photos by hand. A tripod can help by getting your image/product in focus without having to worry about shaky hands.
Choose the Highest Resolution Camera or Phone Camera:
Choosing the right camera is the most essential element to any photography shoot. This will be the difference between quality high resolution images or pixelated low quality images that are hard to zoom in on without looking blurry.
If you are using a DSLR camera, try and avoid using wide angle lenses as these will distort your products. Use the right aperture for an in focus shot of your product. A small aperture like f8 or f11 will give you a wider depth of field, keeping your product crisp and in focus. Please note that a small aperture will darken the scene so make sure that you have ample lighting in the area that you will be shooting your products. For additional lighting, you can take an A3 white sheet of paper or board and place it on the less lit side of your product to lighten the image. The whiteness of the sheet reflects light which in turn lightens the product giving the image an evenly lit finish.
If you are using a smartphone camera, the main thing to focus on is getting your lighting and background right. A tripod or stabiliser for your phone can also help to reduce blur and make post-processing easier.
Editing Your Images:
After shooting your product photos, it is important to retouch your images to achieve a polished, professional look. Getting the background or the lighting right takes a bit of trial and error. Thankfully, there are numerous photo editing apps and software that can help transform your images from looking mediocre to professional. Retouching gives you the ability to remove the background, correct colours, remove flaws and enhance the products appearance to suit the style and finish you desire.
Photo editing can be a time consuming process, however there are a multitude of free image editing tools available to help make the process easier.
Here are a few examples:
Snapseed
PixLr
Canva
Adobe Lightroom
VSCO
Once you have the process down and have found your editing style and how you want your overall brand to look and feel, its is important to maintain consistency as your business grows. Make sure that you document all of the minor changes you make during the trial and error process. This includes; lighting setup, shutter speed, aperture, the background, distance between the camera and product, colour and camera angle.
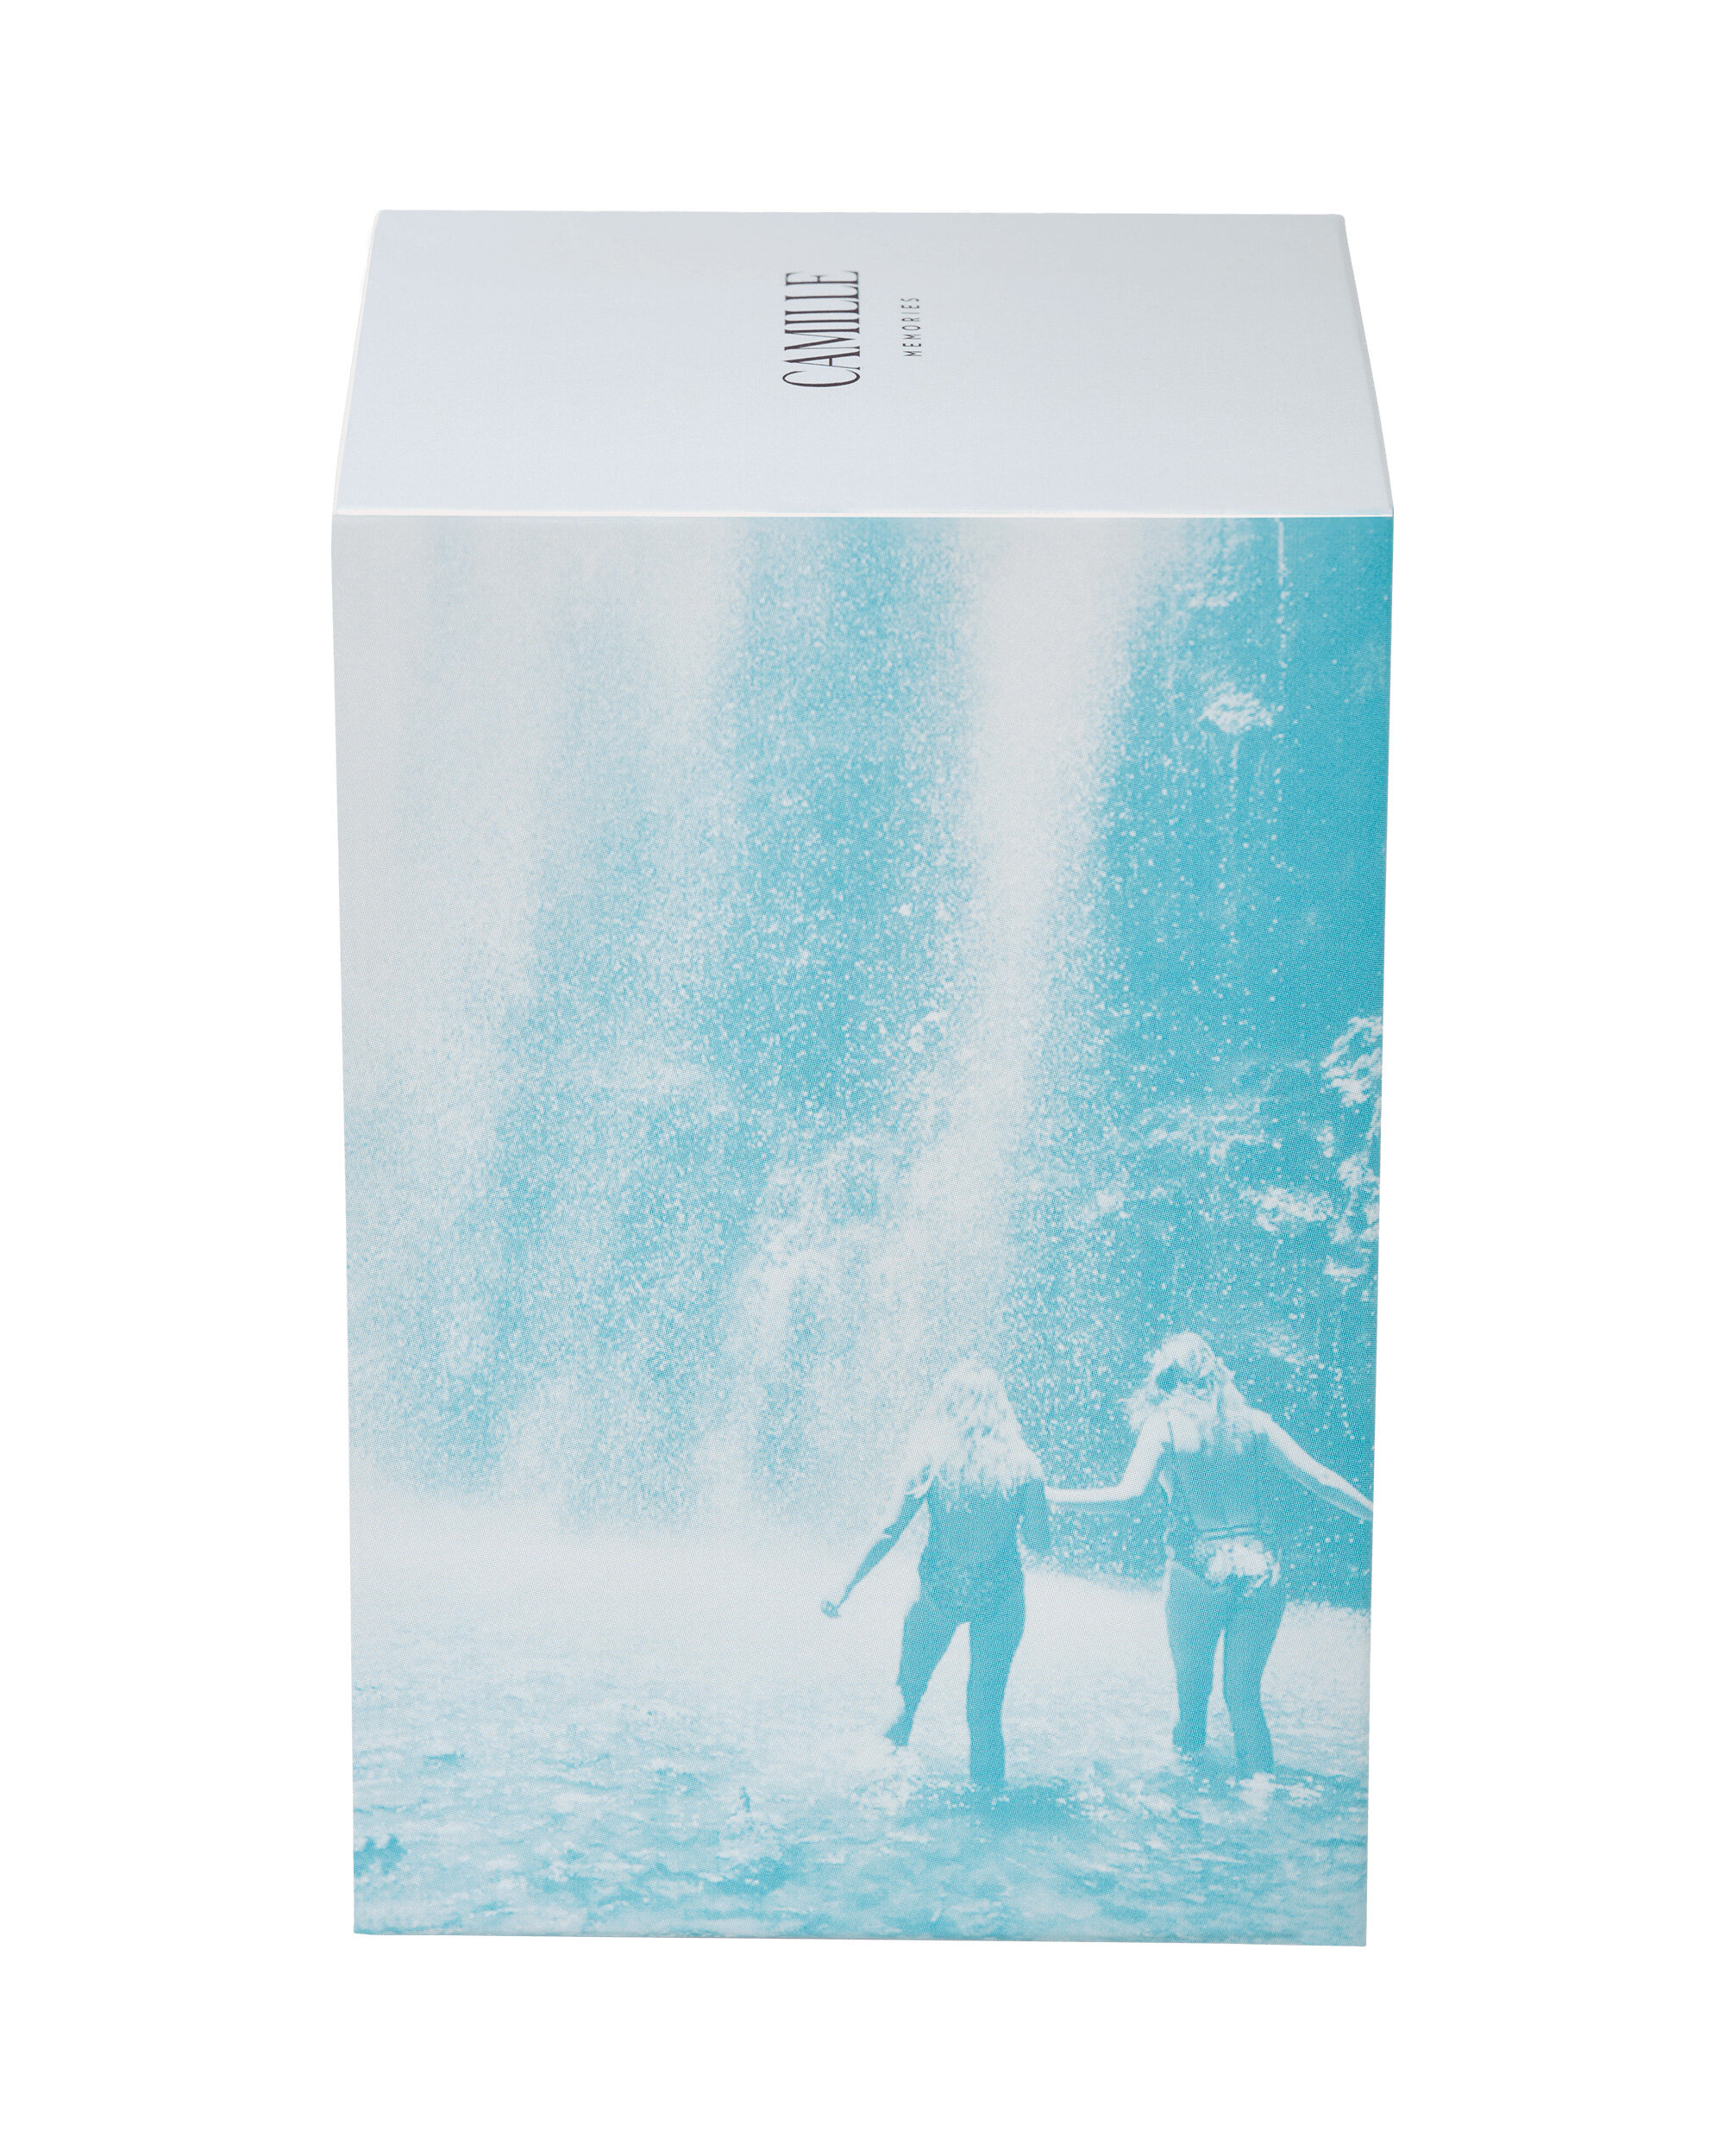
Your product photos are part of your branding and should reflect your brand identity. This is why maintaining consistency is crucial to making your brand identifiable and professional.